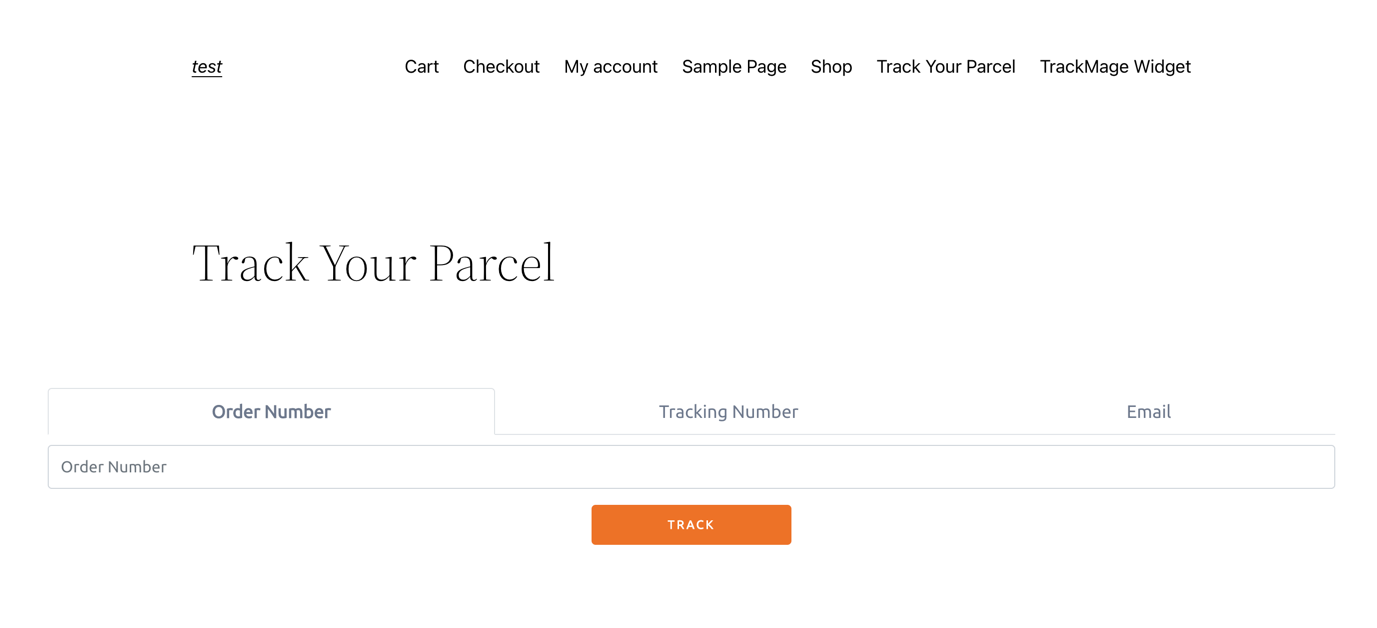
Complete widget's configuration in a WordPress
Complete widget's configuration in a WordPress
This guide will show you how to configure tracking page on the your own WordPress website
Steps
1. Configure tracking page
You should create and configure a tracking page in your TrackMage account.
You can find more helpful articles in our knowledgebase: Basic Configuration and Visual Builder
2. Create a new page in your WordPress website
You can use any custom page builder or native WordPress builder. We will use native WordPress page builder to create a new page.

3. Add TrackMage Setup Widget
- Add code block
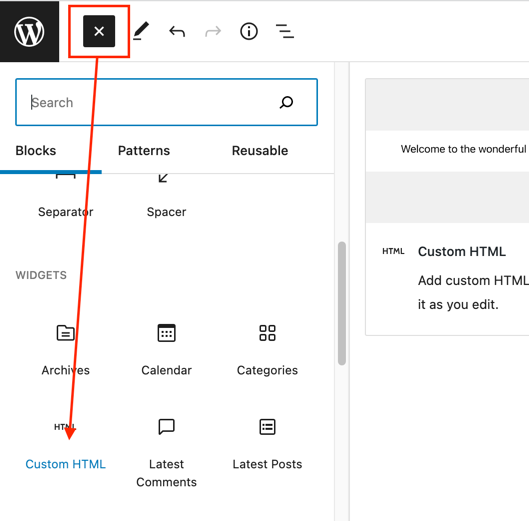
- Copy Setup Widget html code from the docs and insert it into the code block
Copy Setup Widget code:

Insert Code:

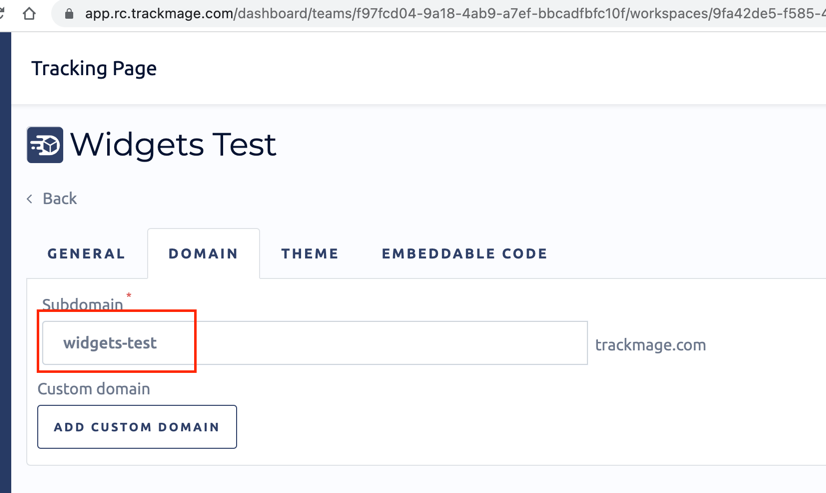
- Replace parameter with your values
Copy Tracking Page Domain:
In the result you should have something like below:
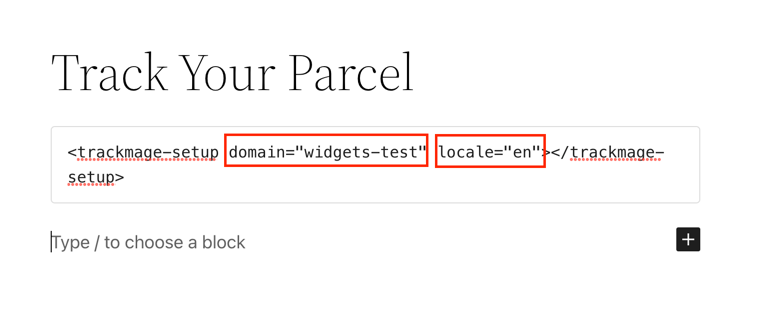
For locale parameter you can use one of de, en, es, fr, gr, it, pt, ru values. You can delete locale parameter, in that case default locale from tracking page will be used.
4. Add two columns
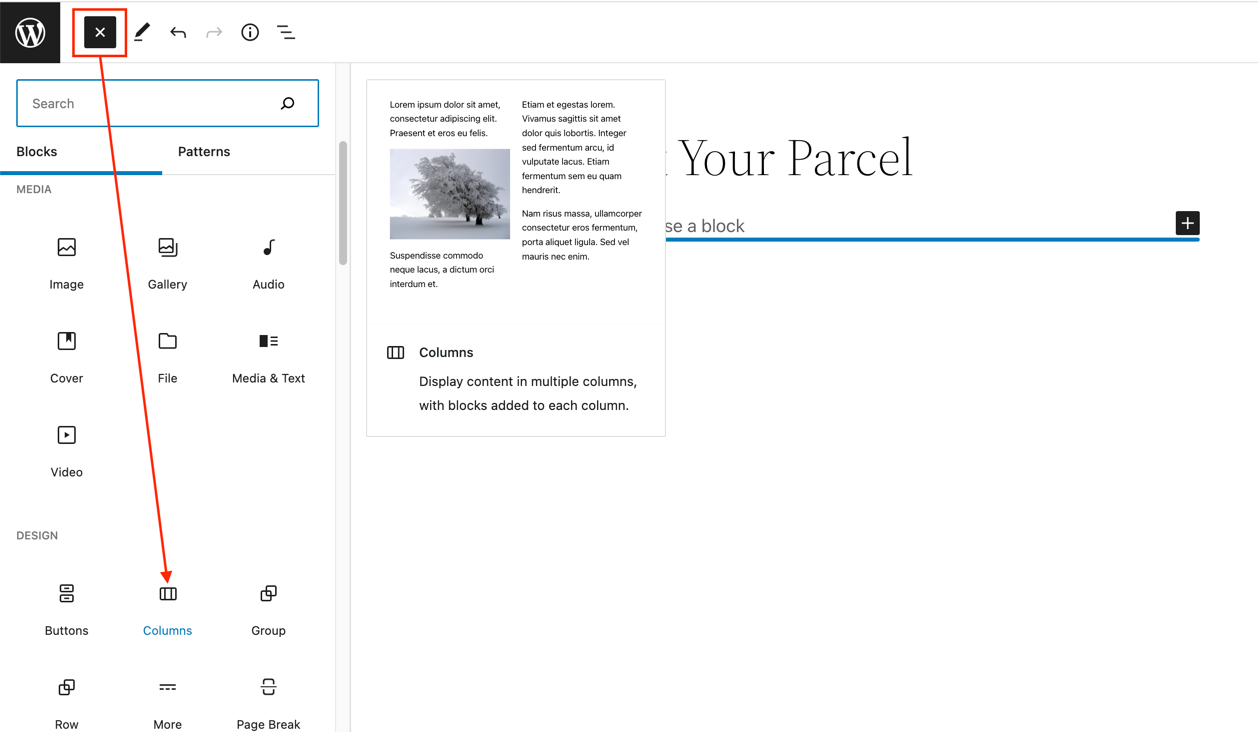
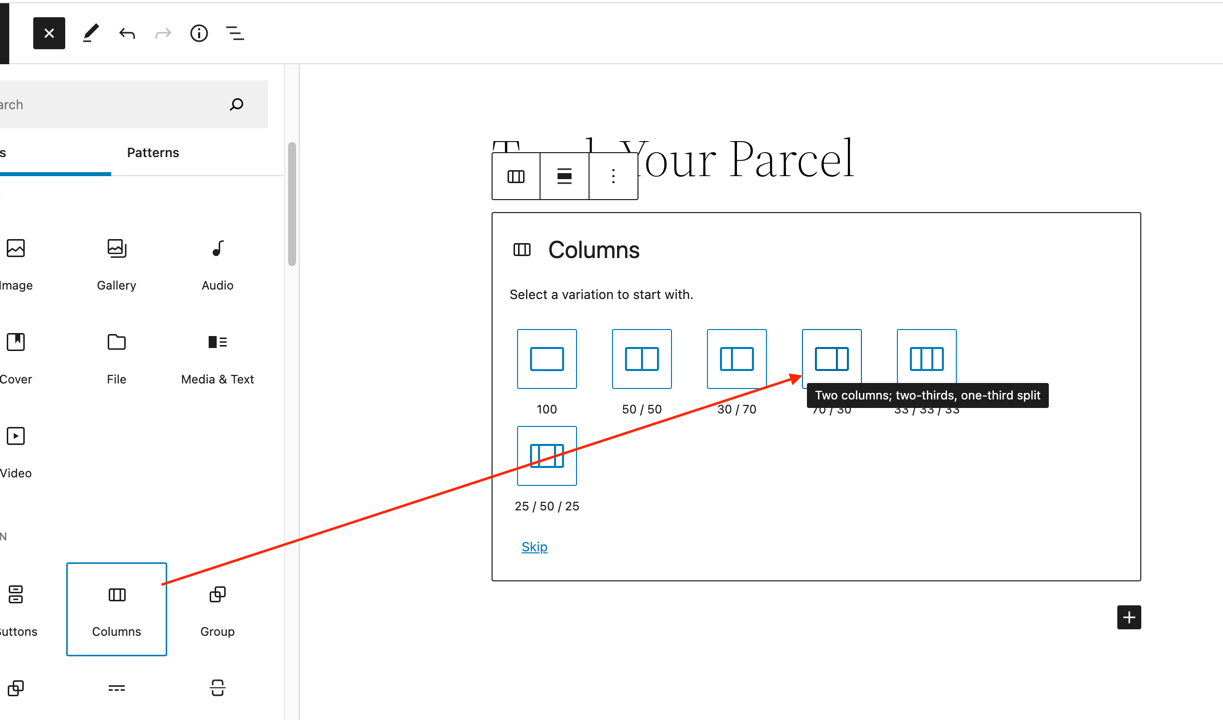

5. Add Lookup Widget and Tracking Cards Widget to first column
- Copy Lookup Widget code from the docs and insert it
Copy Lookup Widget Code:
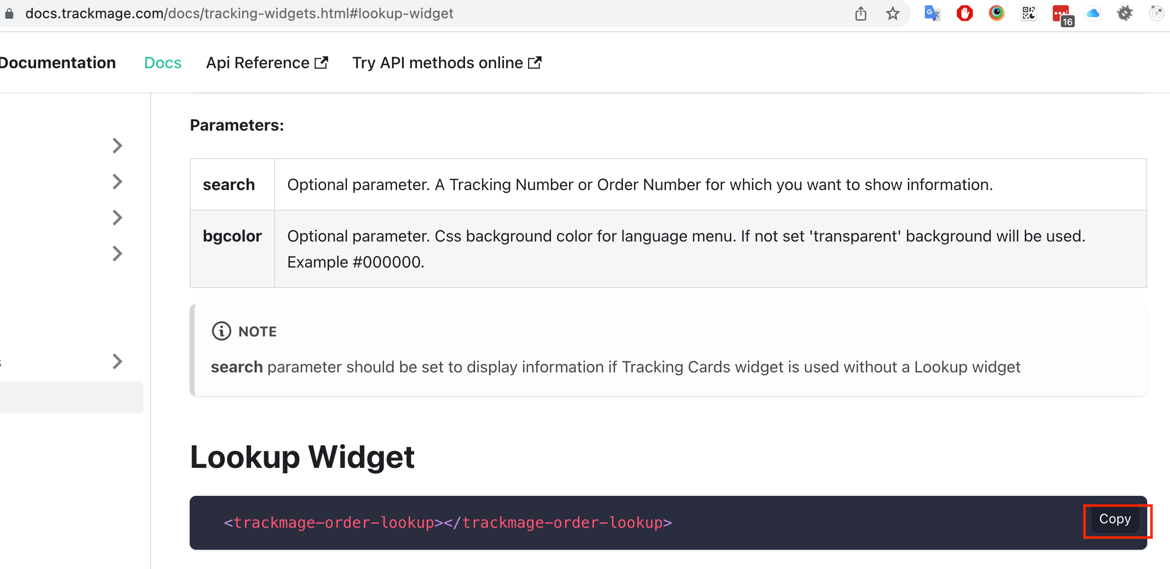
Add widget code to first column:
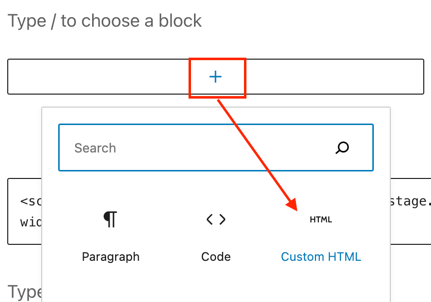
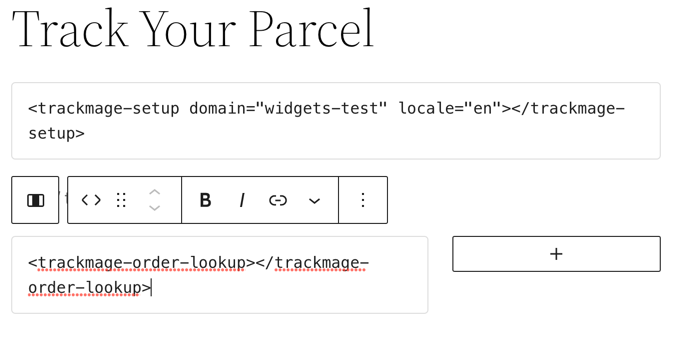
- Copy Tracking Cards Widget code from the docs and insert it
Copy Tracking Cards Widget Code:

Add widget code to first column:
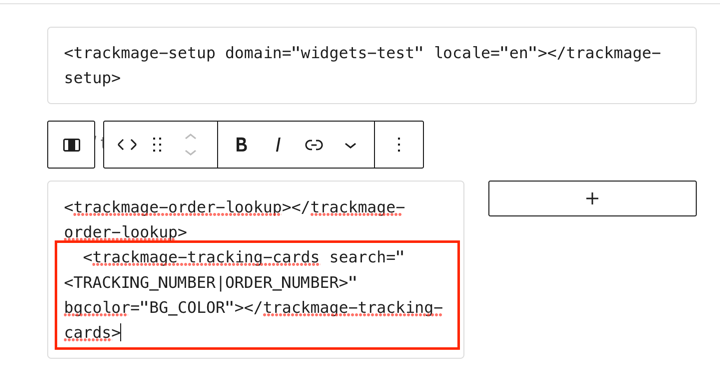
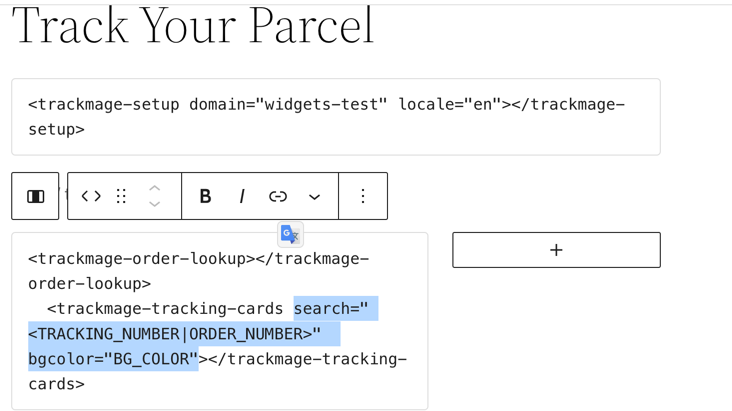
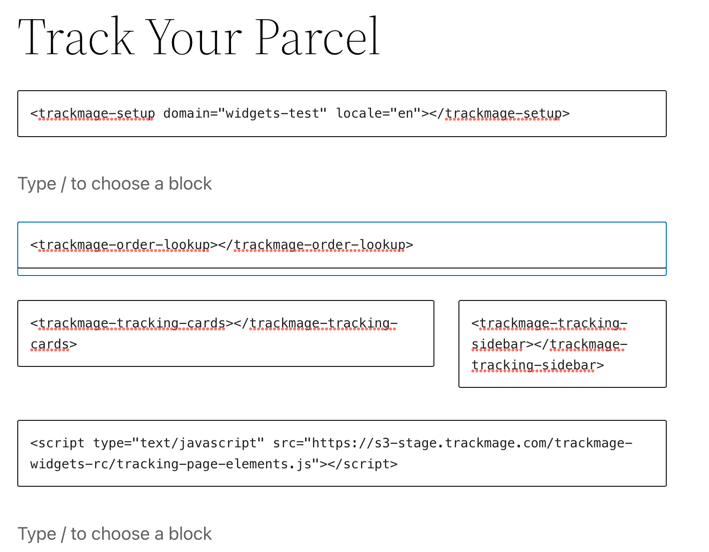
- In the result you should have something like below:
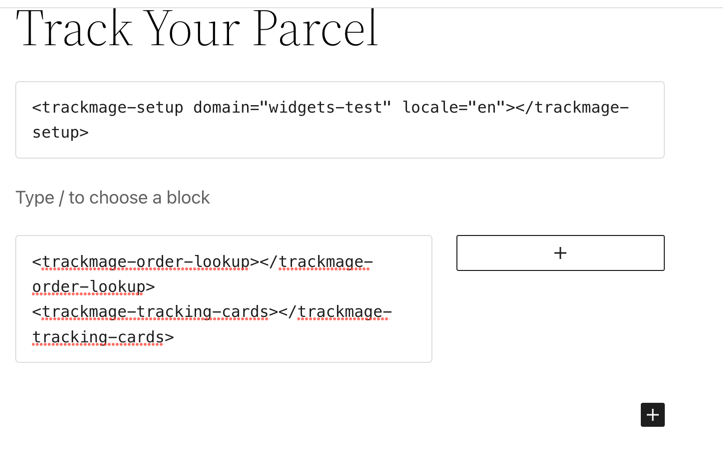
6. Add Sidebar Widget to second column
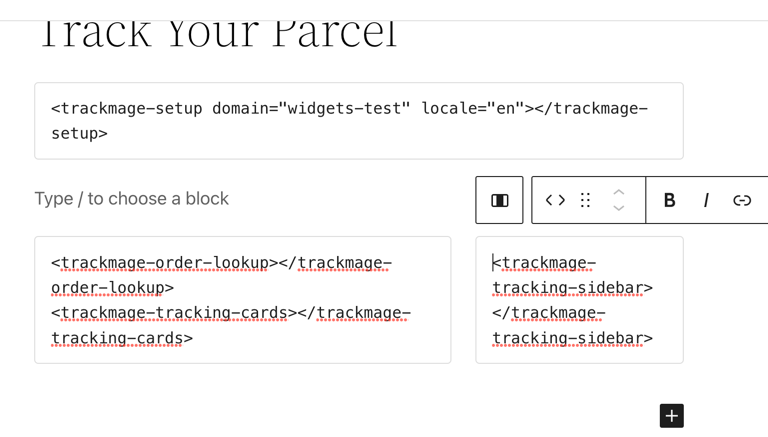
- Copy Sidebar Widget code from the docs and insert it
Copy Sidebar Widget Code:
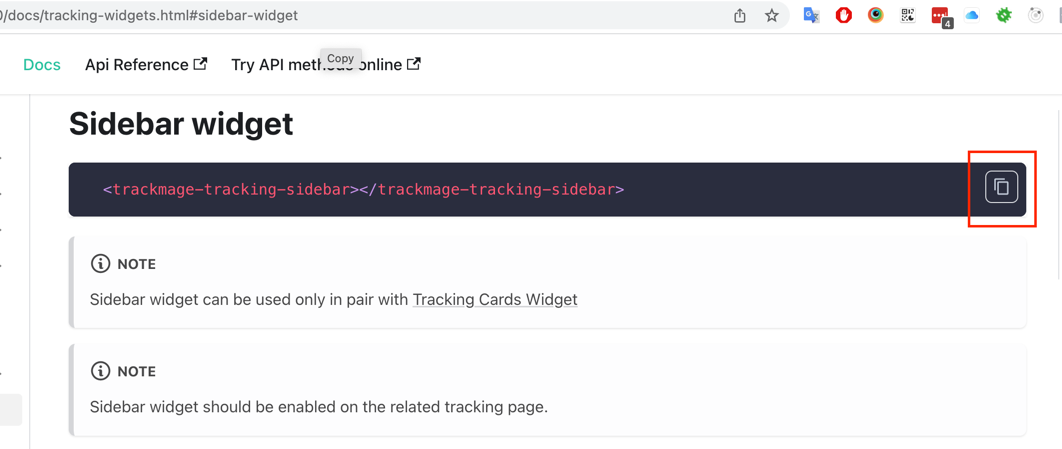
Paste Sidebar Widget Code:
7. Add script code to the page
- Copy script code from the docs
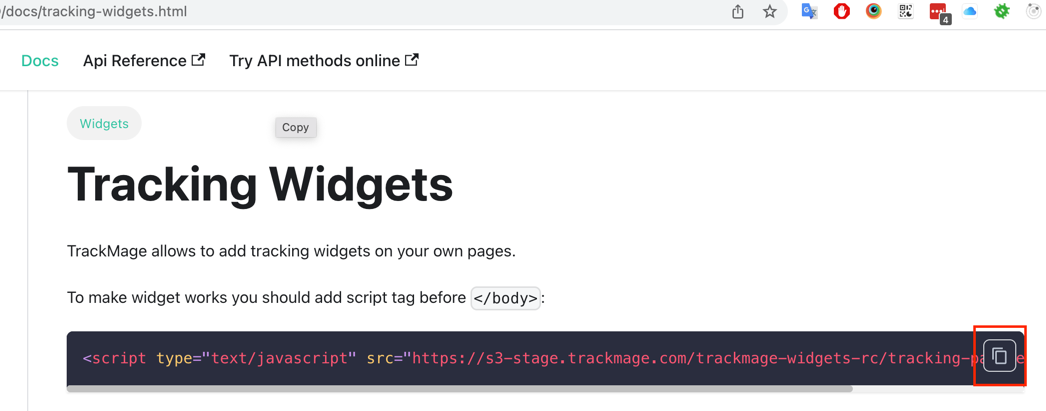
- Paste script code
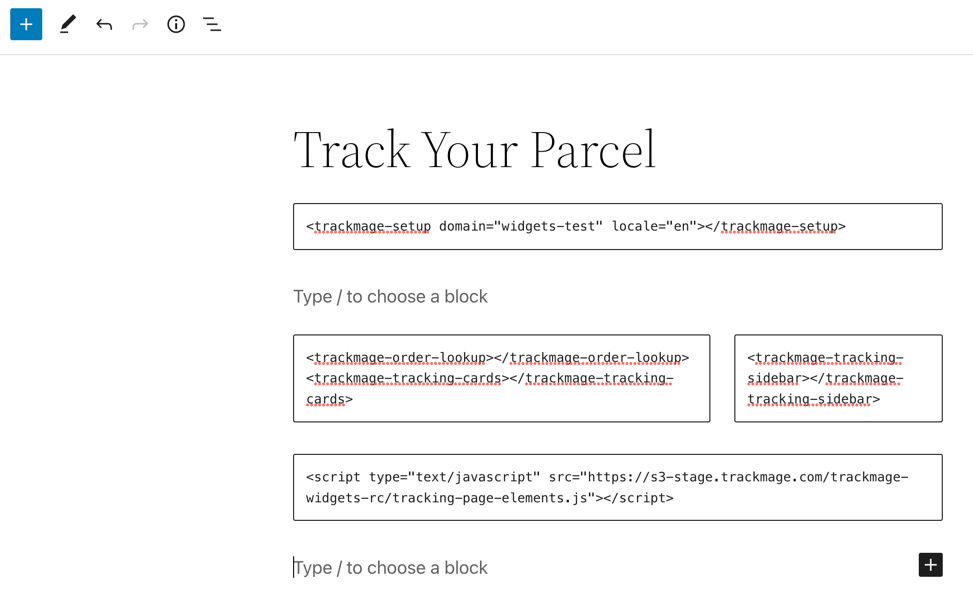
8. Save changes on the editor and open your page.
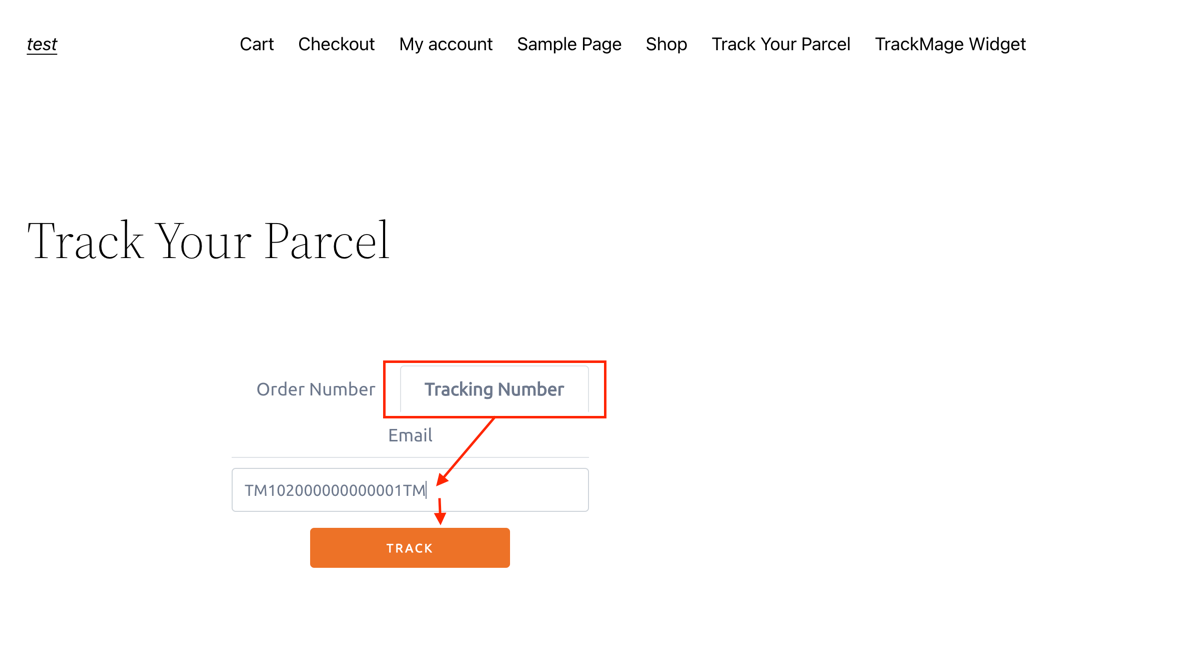
If everything was added correctly, you will have working widgets on the page:
Test widgets work with one of your tracking/order number
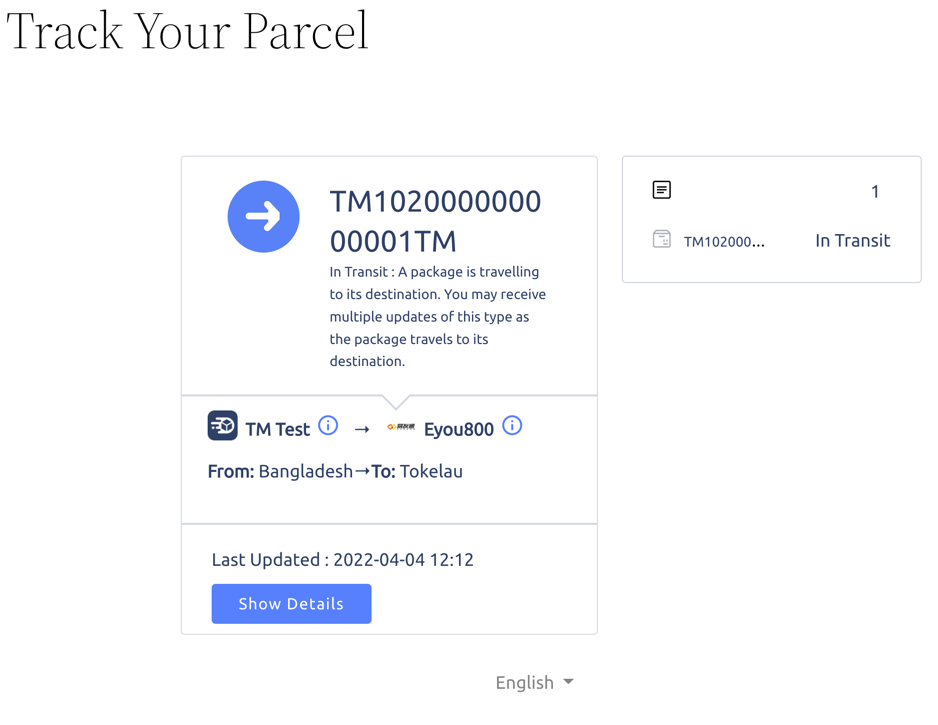
Page layout is just example. You can use widgets in different blocks on the page.

